Unified Payments Interface (UPI)

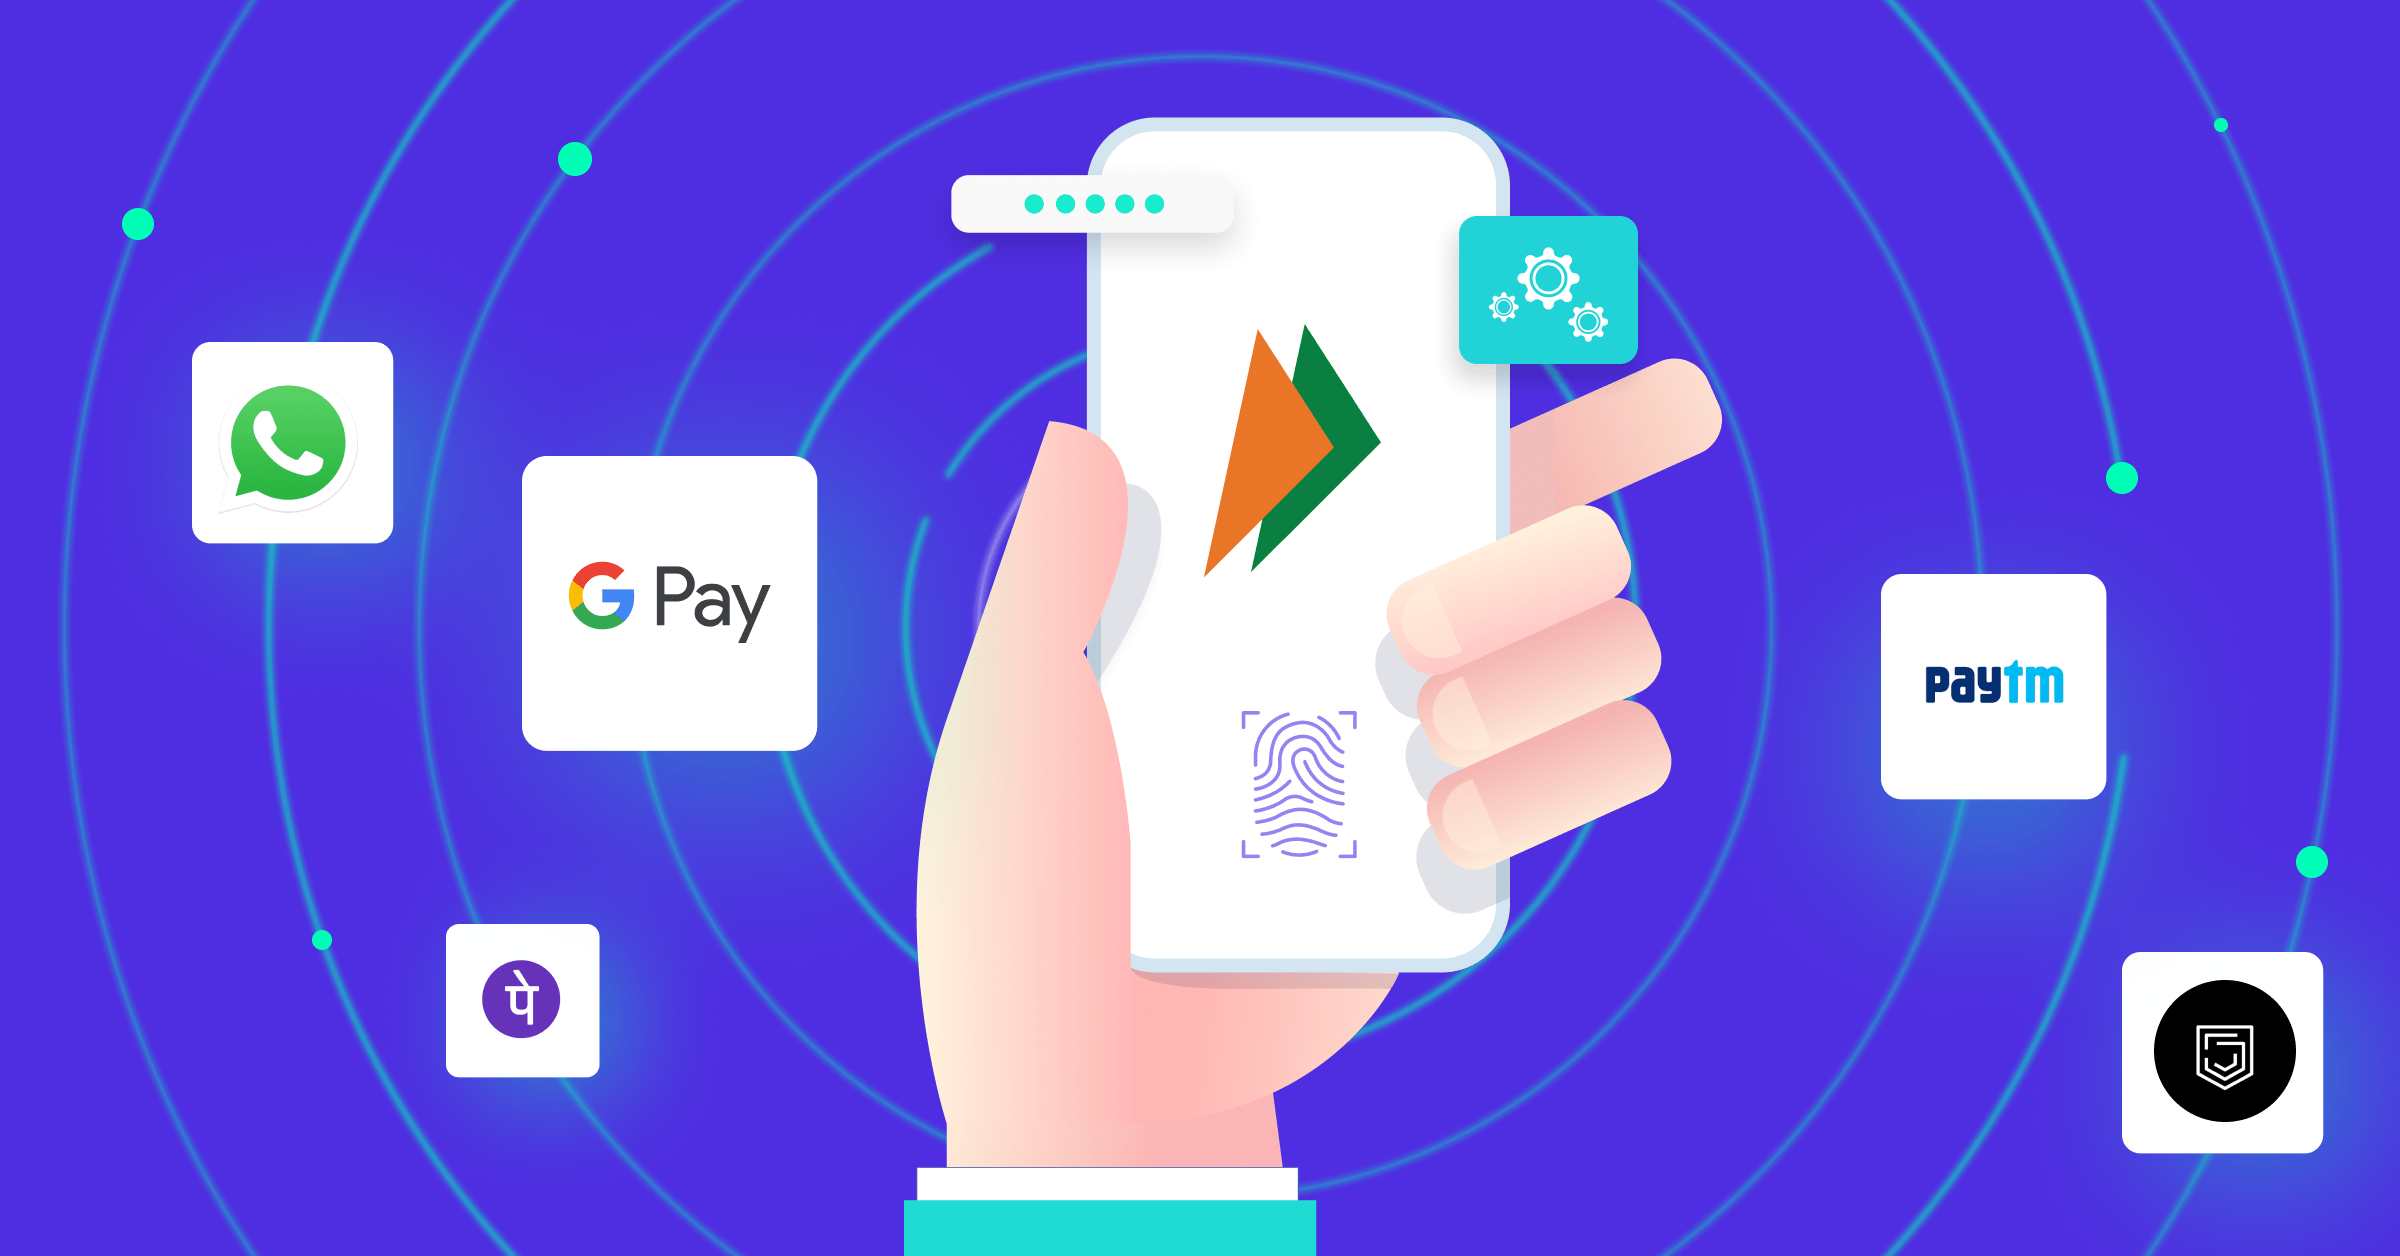
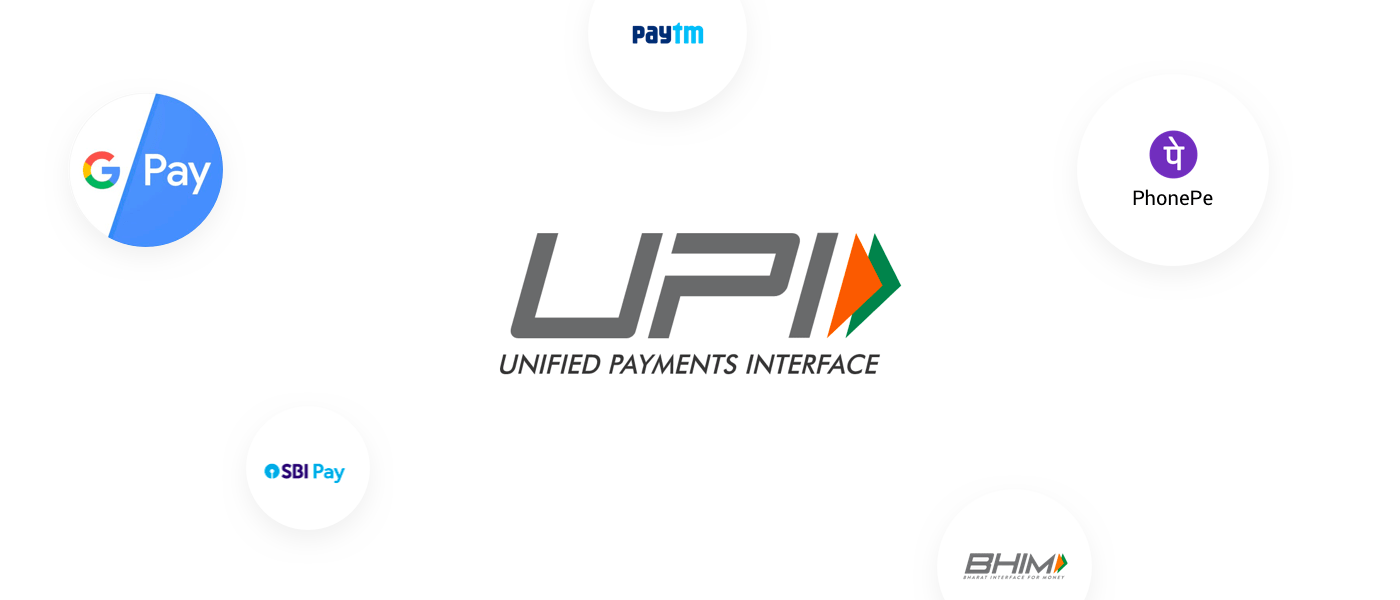
Unified Payments Interface (UPI) is a system that powers multiple bank accounts into a single mobile application (of any participating bank), merging several banking features, seamless fund routing & merchant payments into one hood. It also caters to the “Peer to Peer” collect request which can be scheduled and paid as per requirement and convenience.

With the above context in mind, NPCI conducted a pilot launch with 21 member banks. The pilot launch was on 11th April 2016 by Dr. Raghuram G Rajan, Governor, RBI at Mumbai. Banks have started to upload their UPI enabled Apps on Google Play store from 25th August, 2016 onwards.

How is it unique?
  • Immediate money transfer through mobile device round the clock 24*7 and 365 days.
  • Single mobile application for accessing different bank accounts.
  • Single Click 2 Factor Authentication – Aligned with the Regulatory guidelines, yet provides for a very strong feature of seamless single click payment.
  • Virtual address of the customer for Pull & Push provides for incremental security with the customer not required to enter the details such as Card no, Account number; IFSC etc.
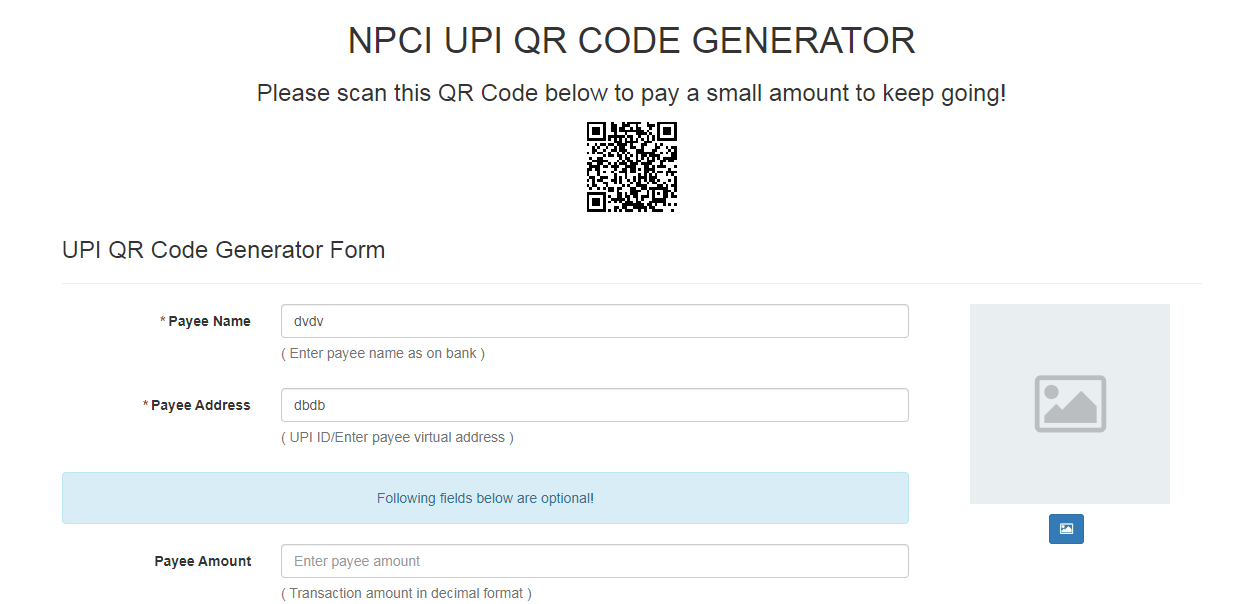
  • QR Code
  • Best answer to Cash on Delivery hassle, running to an ATM or rendering exact amount.
  • Merchant Payment with Single Application or In-App Payments.
  • Utility Bill Payments, Over the Counter Payments, QR Code (Scan and Pay) based payments.
  • Donations, Collections, Disbursements Scalable.
  • Raising Complaint from Mobile App directly.
Participants in UPI
  • Payer PSP
  • Payee PSP
  • Remitter Bank
  • Beneficiary Bank
  • NPCI
  • Bank Account holders
  • Merchants

Steps for Registration:

  • User downloads the UPI application from the App Store/Banks website
  • User creates his/her profile by entering details like name, virtual id (payment address), password etc.
  • User goes to “Add/Link/Manage Bank Account” option and links the bank and account number with the virtual id

Generating UPI – PIN:

  • User selects the bank account from which he/she wants to initiate the transaction
  • User clicks one of the option –

Change M-PIN

In the case of 3(a) –

  • User receives OTP from the Issuer bank on his/her registered mobile number
  • User now enters last 6 digits of Debit card number and expiry date
  • User enters OTP and enters his preferred numeric UPI PIN( UPI PIN that he would like to set) and clicks on Submit
  • After clicking submit, customer gets notification (successful or decline)

In the case of 2(b) –

  • User enters his old UPI PINand preferred new UPI PIN (UPI PIN that he would like to set) and clicks on Submit
  • After clicking submit, customer gets notification (successful or failure)
Product

A. Financial Transactions: UPI supports the following financial transactions viz.

Pay Request: A Pay Request is a transaction where the initiating customer is pushing funds to the intended beneficiary. Payment Addresses include Mobile Number & MMID, Account Number & IFSC and Virtual ID

Collect Request: A Collect Request is a transaction where the customer is pulling funds from the intended remitter by using Virtual ID.

B. Non-Financial Transactions: UPI will support following types of non-financial transactions on any PSP App viz.

  •  Mobile Banking Registration*
  •  Generate One Time Password (OTP)
  •  Set/Change PIN
  •  Check Transaction Status
  •  Raise Dispute/Raise query

* Mobile Banking Registration is possible only if the mobile number (which is to be registered) is registered with the Issuer Bank for SMS Alerts/mobile alerts.

UPI can be accessed on all platforms viz. Android / iOS – The Apps have been developed by members on Android 4.2.2 and above/iOS 8.1 and above platforms.

NPCI Product Overview

UPI QR Code Generator Form

Payee Name:- ( Enter payee name as on bank )

Payee Address:- ( UPI ID/Enter payee virtual address )

The following fields below are optional!

Payee Amount

Merchant Code

Transaction reference ID

Transaction note

Reference URL

Generate Qr Code

Finally, Click on Submit

UPI Payment Button Generator

UPI Payment Button Generator.

Button Text
Name
UPI Id

Button Design

Button Code

FAQ

Q – Where you can use this button?

A – In your mobile website where you want to accept UPI Payments.

Q – What happen when we click the button?

A – When customer clicks the button, it will open BHIM or anyother UPI app. You can pay using UPI app.

Q – Can I use this button for donation buttons?

A – Yes.

Q – Can I use this button on my shopping kart?

A – No. Shopping kart need database level integration where payment status needed to be tracked from Payment Gateway or Bank Server.

You can contact us or other payment gateway for UPI integration to your shopping kart or similar website

Email – support@e-kendra.co.in

Q – Where i can find more about this technology?

A –

Q – Why this page looks ugly?

A – I am lazy when it comes to CSS. Source code is available at github. Send me a PR. code

Contact

Mahabul Alam

support@e-kendra.co.in

UPI Gateway

Accept Payments Directly to your Bank Account

At 0% Transaction Fee

No Transaction Charge

Receive your customer and merchant’s payment via upi gateway service and save transaction charge. 0% transaction Fee.

Settlements in Real Time

You see it, you get it. As soon as your customer has paid, you receive an instant credit to your bank.

Enable Multiple UPI Methods

Customers can enter VPA or can choose their favourite UPI app to pay directly.

Accepting Payments Made Easy, Simple & FREE!

The logos below are the property of respective trademark owners. All the below apps support BHIM-UPI.

Power of UPI Gateway

No Transactions Limit

Our all plans are truly unlimited. Unlimited Payment Acceptance for your Business.

Transaction Alert Via Email & SMS

Your customer get alert of every transaction on their Email and Text SMS instantly.

Webhook

Configure a webhook/callback in your account, through our Panel.

What is UPI payment gateway?

Unified Payments Interface (UPI) is an instant real-time payment system developed by National Payments Corporation of India (NPCI) facilitating inter-bank peer-to-peer (P2P) and person-to-merchant (P2M) transactions.

How do I get a UPI payment gateway?

For this, you need to contact the bank directly and request for NPCI UPI Android SDK to receive payments. Payment flow: In this case, the bank will create a VPA and then you can get paid by customers on the same VPA on your mobile app.

What is difference between UPI and payment gateway?

It is a secured tunnel that connects your bank account to the platform where your money is transferred. Payment gateway is a software that is authorised to conduct an online transaction through various payment modes such as net banking, credit card, debit card, UPI, or other many online wallets.

Is UPI payment gateway free?

As per the norms by the Government of India, there are no charges for using UPI. Merchants can collect payments through Paytm All-In-One Payment Gateway at zero additional cost.

WHO launched UPI?

The National Payments Corporation of India
Who initiated UPI? UPI is an initiative taken by the National Payments Corporation of India (NPCI) together with the Reserve Bank of India and Indian Banks Association (IBA). NPCI is the firm that handles RuPay payments infrastructure, i.e. similar to Visa and MasterCard.

UPI – Unified Payments Interface

UPI or United Payment Interface is a payment system that helps in the instant transfer of funds between two banks through a mobile platform. In other words, it acts as a platform for different banks to get into one single application. This trending payments system in India is the fastest payment gateway and has been developed by the National Payments Corporation of India(NPCI) and regulated by the Reserve Bank of India(RBI).

UPI is completely built on IMPS technology with an aim to instantly transfer funds from one bank account to another bank account with the help of a UPI Virtual Address(unique address given by the bank) or through a Bank account number and IFSC.

Features of UPI

The features of UPI interface are as follows:

  • Bank details are required only once; after which UPI ID or VPA is required
  • Transfer upto ₹1 lakh in every transaction
  • Simple virtual address for money transfer
  • Schedule transactions
  • Linked with Aadhaar
  • Barcode based payments
  • Transfer money anywhere at anytime
  • Secure with single click
  • Available 24 *7

Benefits of UPI

  • The UPI is the cheapest form of fund transfer when compared to NEFT and RTGS. Where RTGS transactions are charged at ₹2.5 and IMPS charges are ₹2.5, UPI transactions cost less than 50 paise for every transaction.
  • UPI makes small transactions feasible. In fact, it has reduced the dependability of cash or even netbanking.
  • UPI transactions do not require too many information for a transaction. Unlike card payments where you need to provide card details, UPI transfers require only the virtual payment address. This is similar to our email address, ravishankar@sbibank, 985647564@icici.
  • As said, UPI transfers do not require any information and is therefore more safe and secure. The virtual payment address does not give any clue about your bank account. Moreover, the authentication takes place at your smartphone and requires two different PINs.
  • After a UPI app, you do not require multiple apps for your respective banks. It is simply based on the concept of One App, All Accounts. A single UPI would serve many bank accounts.

UPI Transaction Limit

  • The NPCI has set a transaction limit and per day transaction limit for UPI transfers. At present, the UPI transfer limit per UPI transaction is ₹1 Lakh.
  • This limit is enabled as UPI is based on IMPS technology.
  • In most of the cases, the maximum number of UPI transactions is limited to 20.
  • Although the transaction limit per UPI transaction is ₹1 lakh, the upper limit depends on bank-to-bank. Therefore, the upper limit could be between ₹10,000- ₹1 lakh.
  • The transaction limit per day for UPI transaction is ₹1 Lakh.
  • The maximum limit for BHIM UPI is ₹10,000 per transaction and ₹20,000 in a 24 hour window.
  • The limit may be revised from time-to-time.

Types of transactions that can be done on UPI

The following transactions can be conducted through UPI:

  • Sending/Receiving money: You can instantly transfer or receive money just through your virtual payment address.
  • Bill payments: You can pay your utility and communication bills
  • Merchant transactions: You can also by anything, from buying groceries and booking movie tickets on an online app.

How to use UPI?

To start using UPI, all you need is a virtual payment address. The steps to register for UPI are:

  1. Download the UPI app you believe best suits you.
  2. Add your bank account with the help of your registered mobile number.
  3. Once your bank account is added by filling in all the required details, you can create your VPA. Enter your desired prefix, e.g. hari@icici and check for availability.
  4. Click on submit to receive confirmation of your registered VPA.

Please note the process mentioned is generic and could differ from app-to-app.

How to Register for UPI? | Steps for UPI Registration Online

The steps you need to follow in order to register for UPI transactions are given below:

  1. After creating the VPA, you would be asked to create M-PIN to use UPI. Select the bank account you want to pay using UPI.
  2. Click on Mobile Banking/Generate M-PIN.
  3. You will receive a One-Time Password(OTP) from your bank on your registered bank.
  4. After entering the OTP, enter the last 6 digits of your debit card number and the expiry date of your card and click on submission.
  5. You will receive a confirmation text for your M-PIN.

How to make payments with UPI

You can make payments through UPI applications by following the steps given below:

  1. Log in to the respective UPI application.
  2. After successful login, select the transaction option of Send/Receive payment.
  3. Enter the beneficiary’s/Payee virtual ID, amount and select the account to be debited.
  4. Review the details on the confirmation screen and then click “Confirm”.
  5. Enter the M-PIN of the bank.
  6. You will receive the status of the message which could be “Success” or “Failure”.

How to receive payments with UPI?

In order to receive payments with UPI, here are the steps that need to be followed:

  1. Log in to your UPI application.
  2. After successful login, select the option of collecting money.
  3. Enter the remitter’s/payers virtual id, amount and the account to be credited.
  4. Review the details on the confirmation screen and then click “Confirm”.
  5. The payer will then get the notification on his/her registered mobile number.
  6. Payer then will have to click on the notification and open his bank UPI app where the payment request is reviewed.
  7. Payer then will have to accept or decline the request
  8. If the payer accepts the request, payer will enter the M-PIN to authorize the transaction.
  9. Once the transaction is complete, payer gets the status of the success and decline transaction notification.
  10. Payee/requester gets the notification or SMS from his/her bank about credit of his bank account.

Recharge & PAN Card Software

This will close in 20 seconds

×

Need Help?

Usually reply in 4 minutes

× How can I help you?